


Winter Sunshine Cuticle Oil
Ingredients:
4.58 ounces Sunflower Oil (91.5%)
0.25 ounces Meadowfoam Oil (5%)
0.05 ounces Cordyceps Mushroom Extract (1%)
0.05 ounces...
There are so many great techniques to try when soaping. In-the-pot swirls are among my favorite. They are easy and forgiving, and the results are so satisfying.
 I’ve been watching lots of videos and admiring the different bars created with this technique, and now I’m ready to make some for myself. I hope you enjoy the process and results as much as I do!
The recipe for this soap is a super simple one following our foolproof 6-5-4-1 formula. The soap batter should be fairly quick to thicken, which is a good thing with ITP swirls, as it helps keep the colors distinct.
Choosing colors can be hard. I want to use Energy Fragrance Oil, so I want bright colors. Ultramarine Blue and Blaze Orange Day-Glo fit the bill, and I left a portion uncolored because Energy does not discolor at all. (Oh look – I made Denver Broncos soap!)
It’s also hard to decide if I like using cavity molds, slab molds, or loaf molds with ITPS. Each mold type has advantages, and some ITPS techniques work best with certain kinds of molds. For this basic ITPS, I chose a cavity mold. I used this 8-cavity oval silicone mold; it’s one of my favorites. The bars are just the right size, and I like the shape.
Gather up some supplies and make this soap with me.
SUPPLIESSoybean Oil |
EQUIPMENTScale |
16-oz BATCH6 ounces Soybean Oil |
PERCENTAGES37.5% Soybean Oil |
Before you get started, get prepared to soap safely. Long sleeves, gloves, eye protection, and close-toed shoes are a must. I’m going to skip the soap making steps, assuming that our readers know how to make soap. If you need more instruction, please see this blog post, which is the beginning of a series on how to make cold process soap.
First, I made my lye solution by adding the lye to the water and stirring until it was clear. I set it aside to cool. Then I weighed the oils and melted in the microwave until just liquid. I checked the temperature of the lye solution and oils; both were around 130 degrees, so I left them to cool a bit longer.
While the other ingredients were cooling, I weighed the Energy Fragrance Oil and set it in one of the mold cavities to be sure I didn’t forget to add it.

Soap separated into three containers for coloring.
The colorants were already dispersed in glycerin and ready to use, so there was no prep needed there. This is something I try to do when I have some extra time. I will use a mortar and pestle to mix colorant into glycerin, then I put it in a squeeze bottle. That way, when inspiration strikes, I can just grab the color I want.
When the lye solution and oils had cooled to around 100 degrees, I combined them and stick blended in short bursts until the batter had reached a light trace. At this point, I poured off some soap batter into two other measuring cups to color orange and blue, respectively. I left about the same amount in the main bowl, so it was split roughly in thirds.
 Adding Blaze Orange Day-Glo color to one portion of soap. |
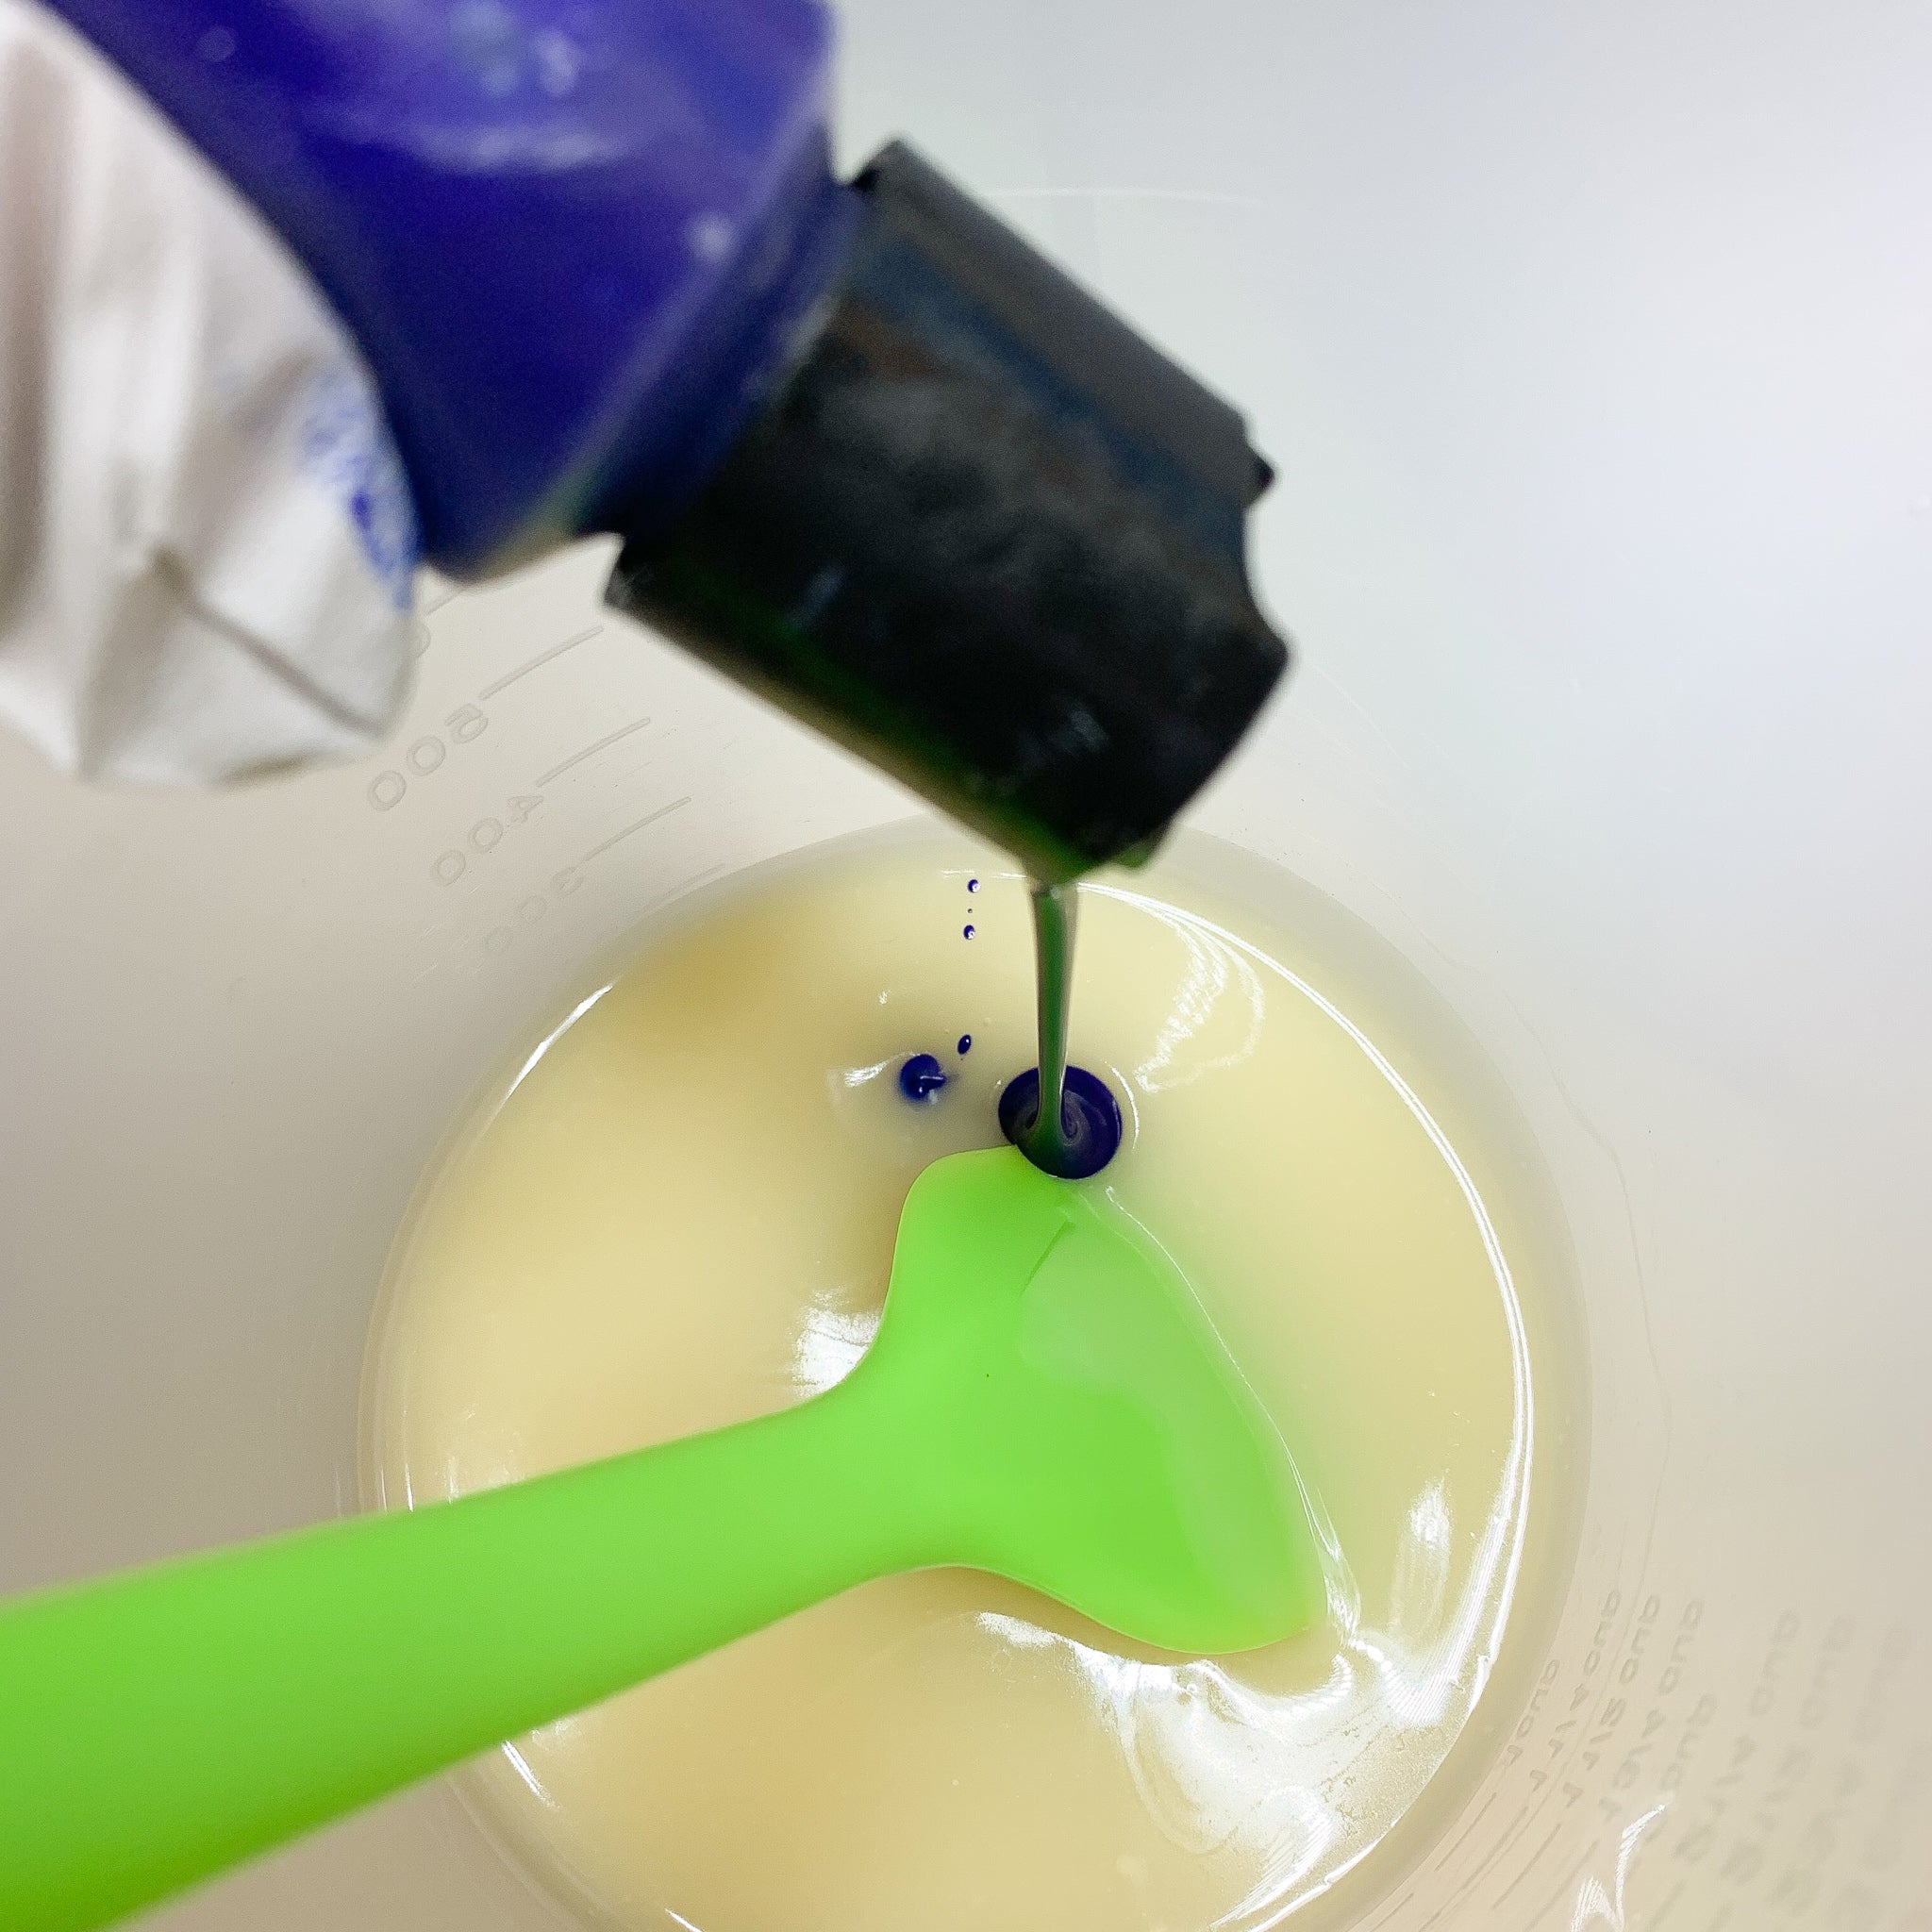 Adding Ultramarine Blue to another container of soap. |
It took about a teaspoon of the predispersed colorants to get the color I wanted of Blaze Orange Day-Glo and Ultramarine Blue. I left the other batter uncolored.
Stirring was not quite enough to get the colors well blended, so I used the stick blender just enough to make sure everything was well mixed.
It’s really easy to create this swirl. Simply pour a few spots of one color to the uncolored soap, then switch colors and pour the second. Usually I try to keep the different colors from being atop one another, but sometimes there isn’t enough space. There is no precise way to do this. Just get all the soap back into one bowl.
 First I poured orange soap into the uncolored soap in two spots. |
 Next, I poured blue into two different spots. |
 And now some more blue. |
 Finally, the rest of the orange. |
Now it’s time to do the swirl. I used the handle of my spoon to make a few passes through the soap batter. It’s important not to do too much swirling to avoid muddying the colors. As you pour the soap, it will move around more.
 Making the swirl in the pot. |
 Pouring the soap into the cavity mold. |

Do you think these look like Earth seen from space?
After pouring the soap, I placed a plastic tote over the top of the mold and put a towel over that, then I put it in a warm spot so the saponification process would not stall. That can happen when it’s cool indoors and you’re using a cavity mold.
When I popped these bars out of the mold the next day, I was delighted at how they looked. It made me think of pictures of Earth from space. What a neat look!

Ingredients:
4.58 ounces Sunflower Oil (91.5%)
0.25 ounces Meadowfoam Oil (5%)
0.05 ounces Cordyceps Mushroom Extract (1%)
0.05 ounces...
This...


